
Creating a New Task
When you create a new task, make sure that you have planned out the order in which the tasks are carried out. It is also recommended that the name chosen for the new task should include the entity/data sources accessed in the task and the action to be taken. For example: Update Accounts.
A New Task Area
The fields listed in this page define whether the task is active or not and its place in the task-execution order. The specific actions that will be carried out in order to complete this task, are defined as Steps.
To Create a New Task:
- Select Interfaces>{Specific Interface>Tasks in the Navigation Pane. The Task Work area appears with the relevant toolbar.
- Press the Plus button next to the existing task or a create task if no tasks have been created for the interface yet. The Edit Task page opens in a new window.
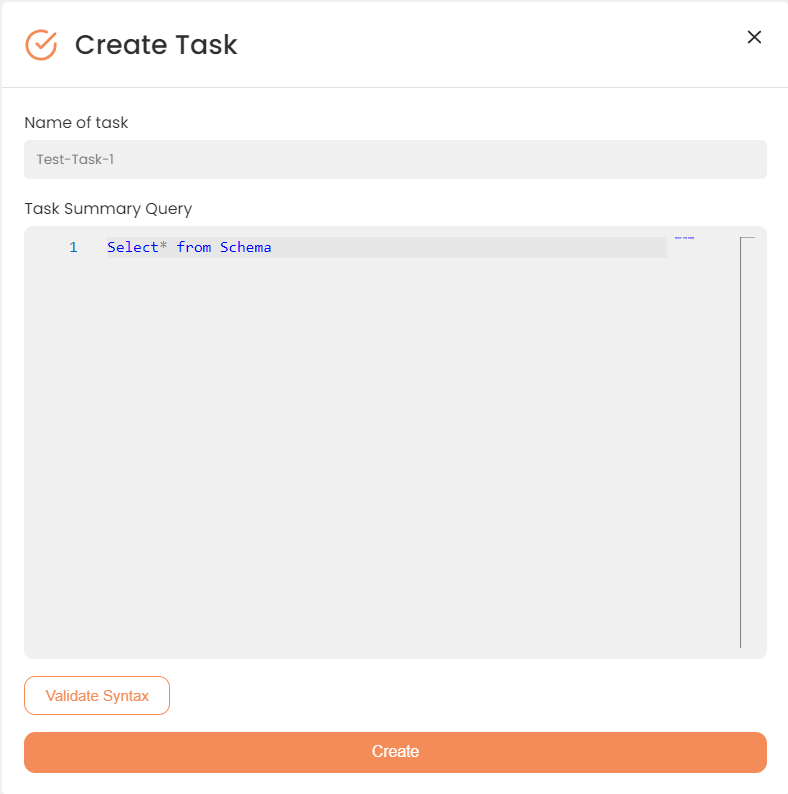
- In the Name box, enter a relevant name for the new task.
- Hit the Is Active switch to activate the task (optional).
- In the Order of Execution box, enter the appropriate number. This number indicates the new task place in the order in which the tasks are executed.
- In the Audit Notes box, leave a comment for this task (optional)
- Enter the Query into the Task Summary Query field.
- To validate the syntax of your query, press the Validate Syntax button.
- When done, press Create.
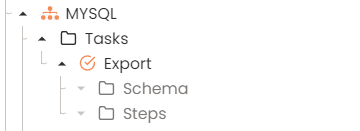
A new task will be shown on the Quick Access pane to the left with its corresponding folders.
A New Task Tree